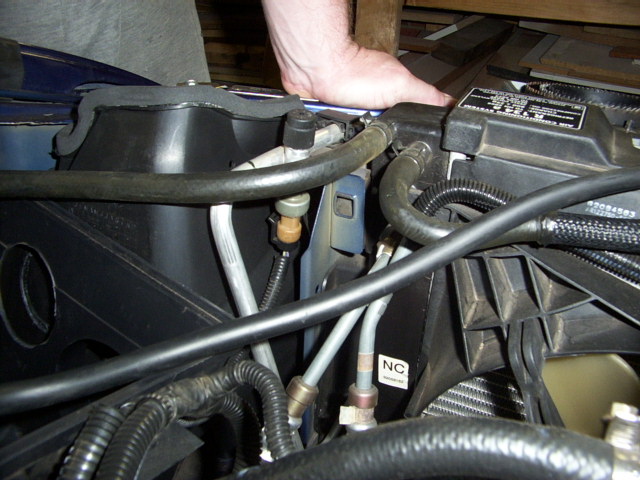
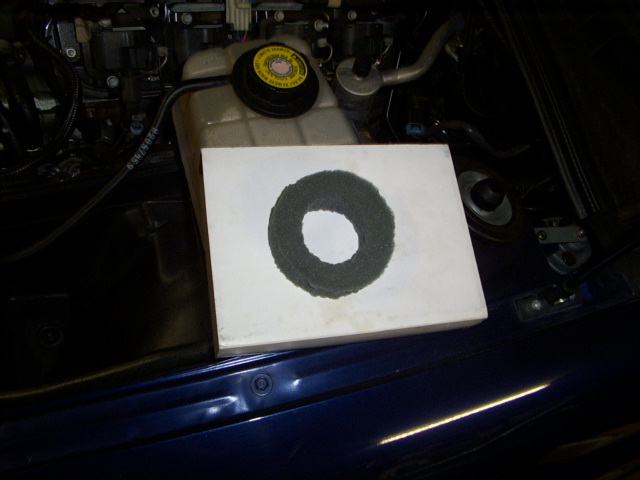
00 A wide shot for context
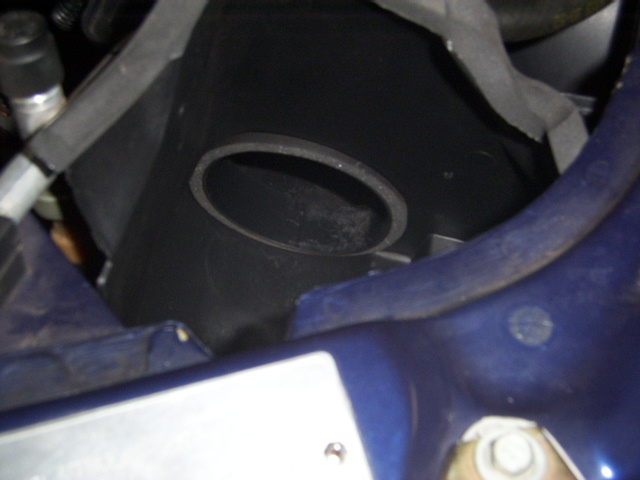
01      From front of car looking down into CAI.
        Shows foam seal around flange of original airbox
        that CAI slips onto.
        Note I've added sealing foam around the top
         edge - From Clarke Rubber  10mm square
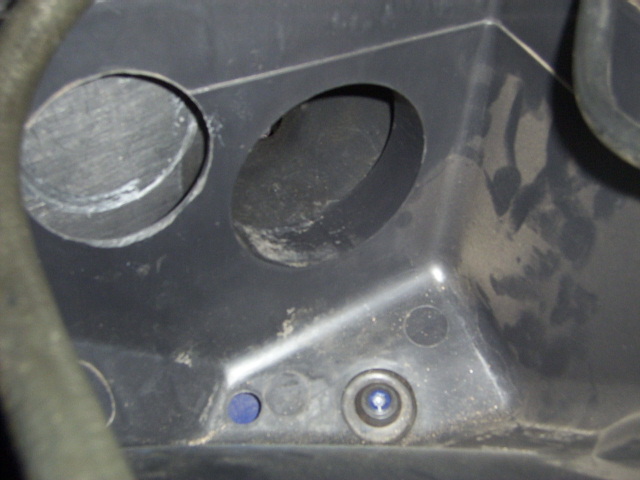
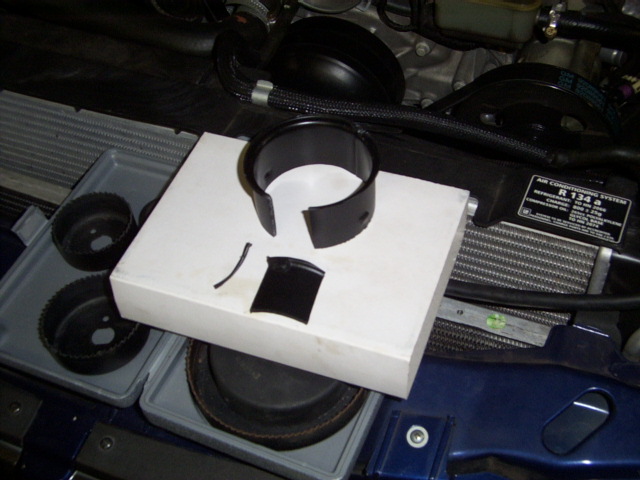
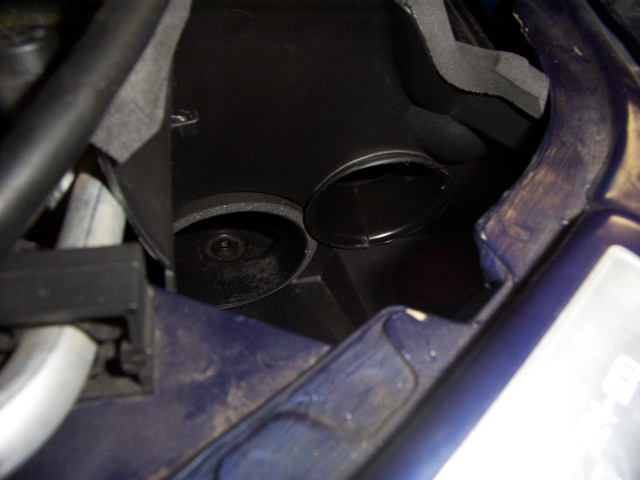
02      From inside the airbox looking forward.
        Shows second hole - I have created scratches on the
        wall of the MCAI to try to mark where to cut.  I was
	planning to cut it out of the car.
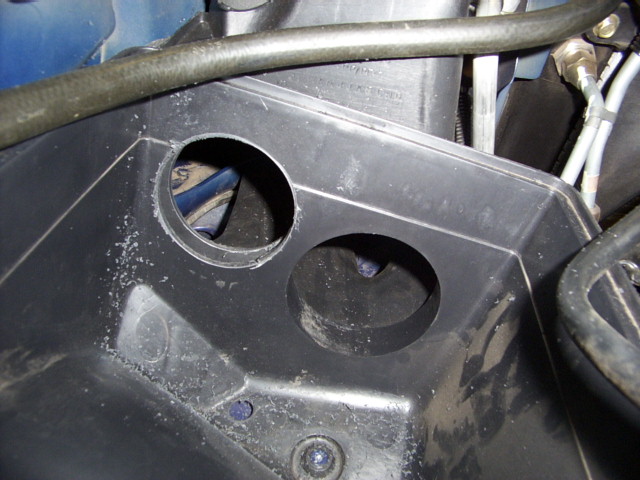
03      Decided it was easier to drill the hole insitu.
        Also went up a size (Didn't have an exact sized hole saw)
        Used a drill elbow and variable speed drill to retain control
04 Made up this seal to feel the gap - From packing foam
05      I ended up not using this piece from the normal MCAI parts
        list (it slips into the big hole normally).  So I found
        a new use for it.  The big cut was a first guess, the
        sliver made it a snug fit. - Just used tin snips

	You can always get some other pipe to match your chosen
	hole size.
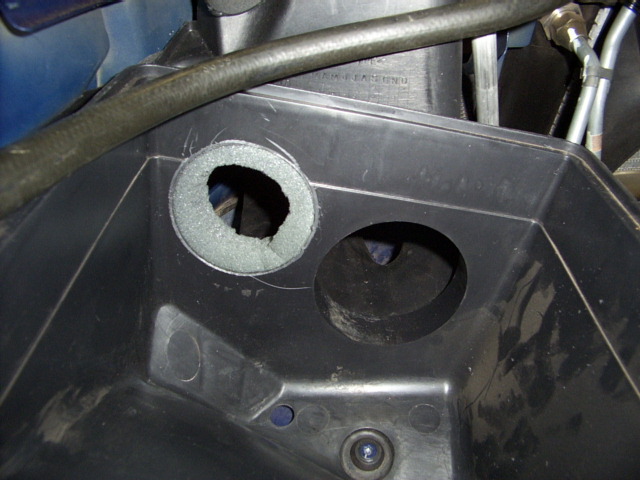
06 Tuck the seal into the new hole
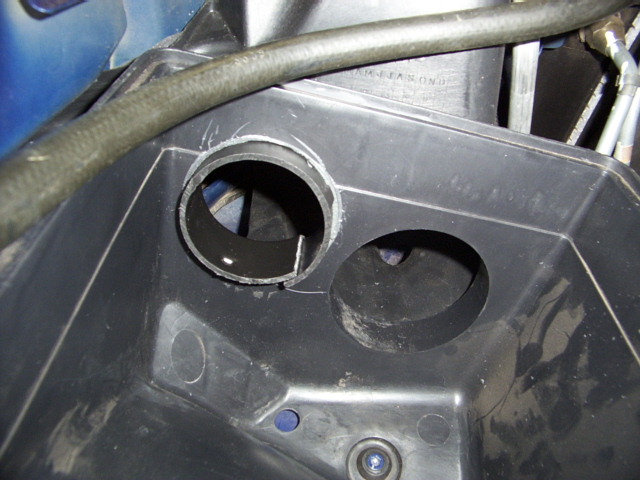
07 Put pipe in - easier with an overlap at gap
08      Expand pipe to be round once inplace


Other Tips:
  When removing the pipe from the smaller hole, I needed to undo
the head light (but not completely remove) to make space to wiggle it
out, but some force was still needed.

When buying the stuff from holden you don't need the insert 92102689
Just   92102700 Seal & 92096849 Duct
But while you are there, rather than do what I did sticking foam on top
of the Duct, looking at a friends VY, the plastic shroud on top of the
radiator that you remove to get to this, had a foam section stuck to it.
So see if you can buy just that.


So you can move the IAT (Inlet Air Temp) sensor from the front
of the airbox to the MAF/TB pipe (this is where it is from VX on)
You will also want to get:
  92052073 - CLIP - AIR TEMP SENSOR RETAINING - $ 0.34
  and a new sensor or grommet to block the old hole.
Alternatively you can leave the IAT and just bend (or heat and bend)
the MCAI around it.


The source for much of this was   www.ls1.com.au